Personalizing the Smart Desktop
By personalizing your Smart Desktop, you can choose and rearrange Widgets that pertain to your work.
To see the Smart Desktop, click ( ) in the Workarea’s upper right corner.
The Smart Desktop looks like this.
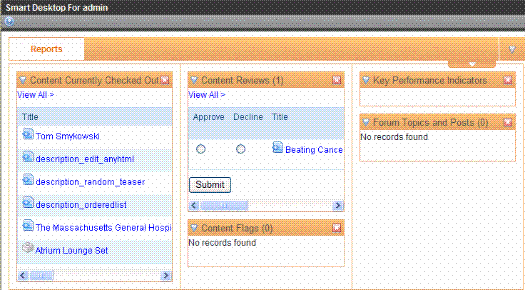
The default Smart Desktop page contains several Widgets that provide information about your Web Site. The page above shows the default widgets for the Ektron Medical starter site.
How Customizing the Smart Desktop Works
The Smart Desktop can have multiple tabs, letting you organize content by subject – think of tabbed browsing. You can easily add new tabs and switch between them.
Within a tab, you can add, move, or delete Widgets to personalize your Smart Desktop.
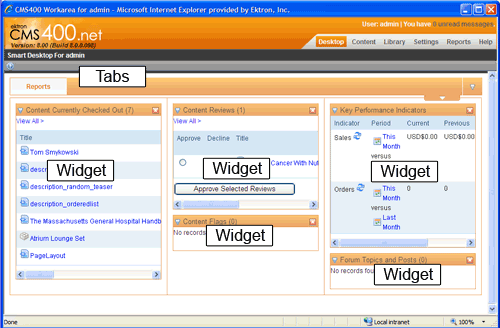
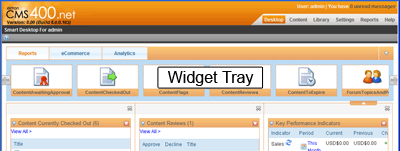
Smart Desktop Widgets are stored in a widget tray. You drag and drop widgets from the tray onto any tab and column on the Smart Desktop.
Adding a Widget to the Smart Desktop
1. Go to the Workarea > Desktop.
2. Click the Toggle Widget Tray down arrow, located in the upper right corner of the Smart Desktop window (circled below).
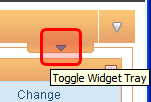
3. You see the Widget Tray containing widgets you can drag and drop onto your Smart Desktop. Use the left arrow ( ) or right arrow (
 ) buttons to see more widgets.
4. To choose a widget, drag it from the tray and drop it into the Smart Desktop panel.
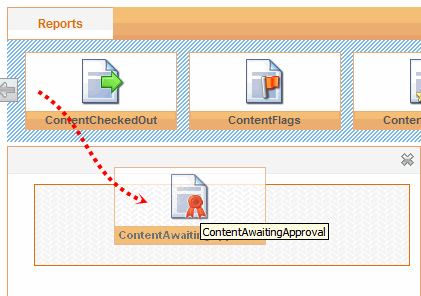
After placing a widget on the Smart Desktop, you may drag it to any desktop location.
Adding a Tab to the Smart Desktop
Tabs help you organize your Smart Desktop. By default, there is one tab containing a few standard widgets. You may add other tabs, for example to place eCommerce or Analytics type widgets.
To add an eCommerce widget, follow these steps.
1. Click the Options button on the upper right of the Smart Desktop.
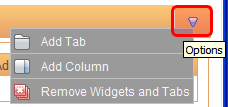
2. Click Add Tab.
3. The Add Tab dialog window appears.
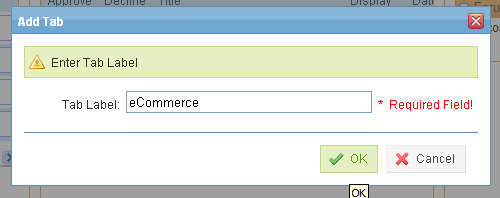
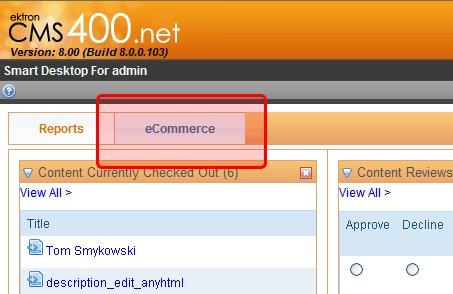
4. Enter the Tab Label for the tab. For example, eCommerce.
5. Click OK.
6. The new tab appears at the top of the Smart Desktop.
Adding Columns
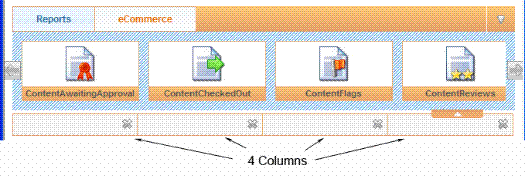
By default, 3 columns are placed on the Smart Desktop. You may add columns by following these steps.
1. Click the Options button on the upper right of the Smart Desktop.
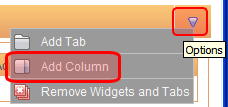
2. Click Add Column.
3. Click the Options button to see the new column below the Widget tray.
Deleting Columns
1. Click the Toggle Widget Tray button (circled below) to show the Widget Tray and Columns.

2. Click the Remove Column button (circled below) inside the column you wish to delete.

Restoring Tabs and Widgets
All users can restore their Smart Desktops to the Default Widget set. To do this, follow these steps.
Warning! This action removes all tabs and widgets you have modified on your Smart Desktop. Only the default set of tabs and widgets will be shown.
1. Click the Options button on the right side of the Smart Desktop.
2. Click Remove Widgets and Tabs.
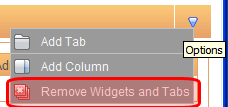
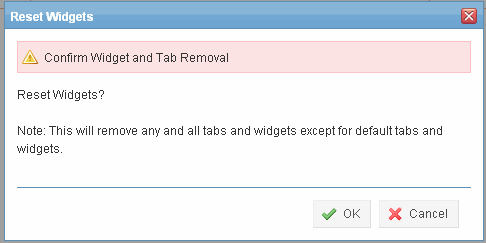
3. A dialog box appears prompting you to confirm you want to delete all Tabs and Widgets. Click OK.
Setting the Default Widgets
Note: To restore the Default Widget set, you must be a member of the Administrators group.
By using the previous procedure Restoring Tabs and Widgets, the user restores their Smart Desktop to the Default Widget set. The Default Widget set is defined by users in the Administrators group by doing the following.
1. Click the Options button on the right side of the Smart Desktop.
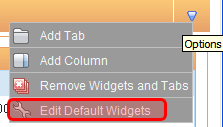
2. Choose Edit Default Widgets.
3. Arrange the Smart Desktop with tabs and widgets that you wish to be the default.
4. Click the Options button.
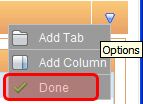
5. Click Done to save the Default Smart Desktop.
Standard Desktop Widgets
The following table describes the standard Smart Desktop Widgets.
|
Widget |
Description |
For more information, see |
|---|---|---|
|
Content Awaiting Approval |
All content items awaiting your approval |
|
|
Content Checked Out |
All content in a checked out status |
|
|
Content Flags |
The ten most recently added content flags |
|
|
Content Reviews |
Content reviews awaiting moderation | |
| Content to Expire | All content that will expire between today and a number of days you specify | Content to Expire Report |
| Customer List | The top five eCommerce customers ranked according to account date, sales, and orders | Customer Reports |
| Forum Topics and Posts | Forum posts that require approval. | Approving a Post |
| Key Performance Indicators | Compares eCommerce sales and orders for two different time periods | Key Performance Indicators Report |
| Order on Hold | All eCommerce orders currently on hold | |
| Recent Orders | Recent eCommerce orders | |
| Reconciliation report | Lists payments for a specific time period | Payment Reports |
| Sales Trend | The number of eCommerce orders for the past 8 periods | Sales Trends Report |
| Top Products | The most popular products on your site | Top Products Report |
| Analytics Report | The Direct Traffic report for the past seven days | Viewing Analytics Data |
Customizing the Widgets Available to the Smart Desktop
The Widgets used in the Smart Desktop are located on the web server in the workarea\widgets folder.
You can also use widgets developed for Personalization and Page Builder on the Smart Desktop.
The following example demonstrates how to add a Calendar Widget to a Smart Desktop.
Note: Access to the Web Server folders is required to perform the following steps.
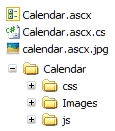
1. On the web server, copy the widget files you want to use from the siteroot\widgets folder into the siteroot\workarea\widgets folder. Be sure that all files related to the widget are copied.
The example below shows all files related to the Calendar Widget.
2. Click the Workarea > Settings tab.
3. Choose the Configuration > Personalizations > Widgets folder.
4. Click the Synchronize Widgets button, shown below.

5. At the prompt, click OK.
6. Add the Widget to the Smart Desktop using the procedure described in Adding a Widget to the Smart Desktop.
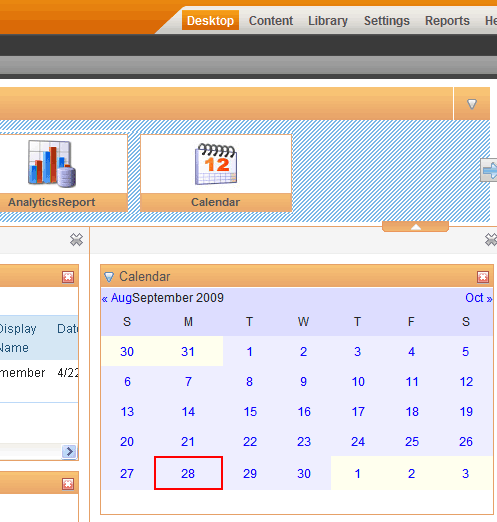
For example, after you drag and drop a Calendar widget onto the Smart Desktop, it looks like this.
